Our guide for a kids party
The sun is shining, the weather is sweet… and so are these amazing treats and ideas that will make for an unforgettable kids’ party.
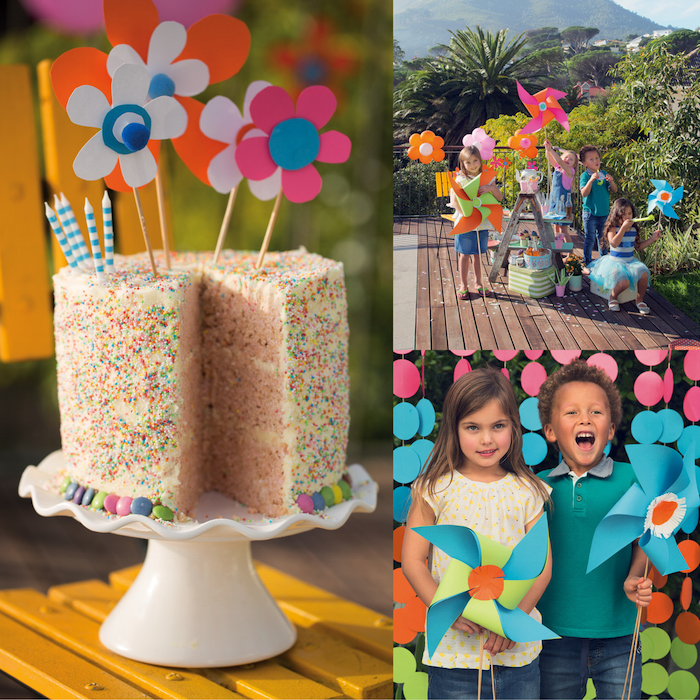
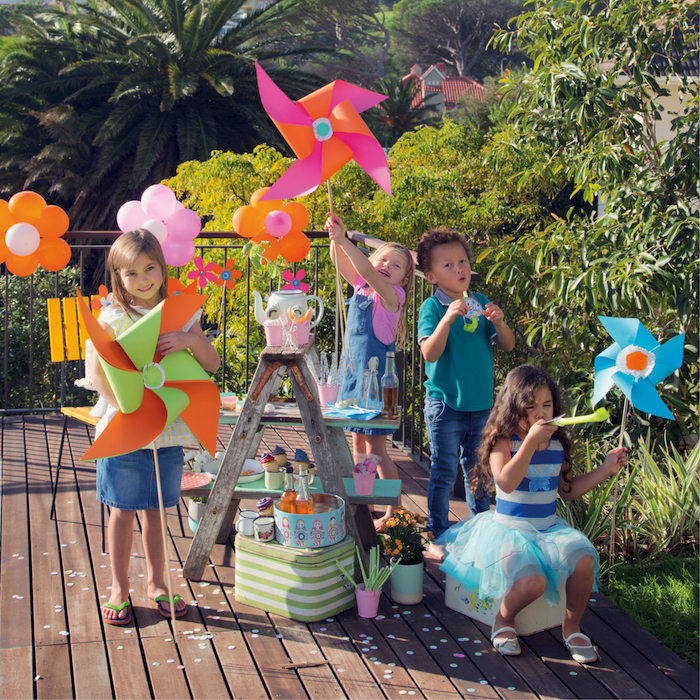
The decor
Now that summer is well on its way, you can host your kid’s party outdoors things can get messy without any worry. Find a nice, flat piece of ground and set up a step ladder or picnic table with snacks, drinks and party accessories.
Pop some ice in an old biscuit tin and add bottles of your child’s favourite drink to it to keep it cold. They can help themselves all day long, and you won’t be running back and forth to the fridge.
Fill the area with balloons of all shapes, colours and sizes and other home-made paper decorations. These are easy to clean up, and they won’t be missed if they get broken or messed on.
If you love our giant paper pinwheels, you can make your own by following these instructions:
1. Start by cutting out a square from a piece of A4 paper.
2. Fold your square corner to corner, then unfold. Do this on both sides so it looks like you have made an ‘X’.
3. Snip along the folded lines, about of the way to the centre.
4. Bring every second point towards the centre and hold in place. Staple the centre of the pinwheel to keep it in place.
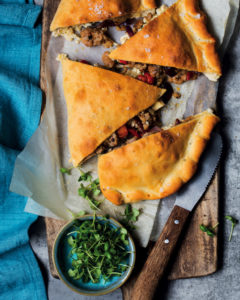
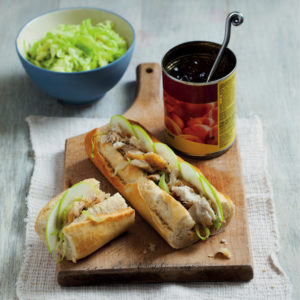
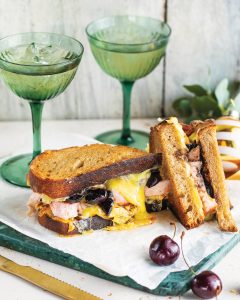
The food
These snacks are so easy to make (and eat), tasty and fun, that even the adults will love them!
Oreo cookie pops
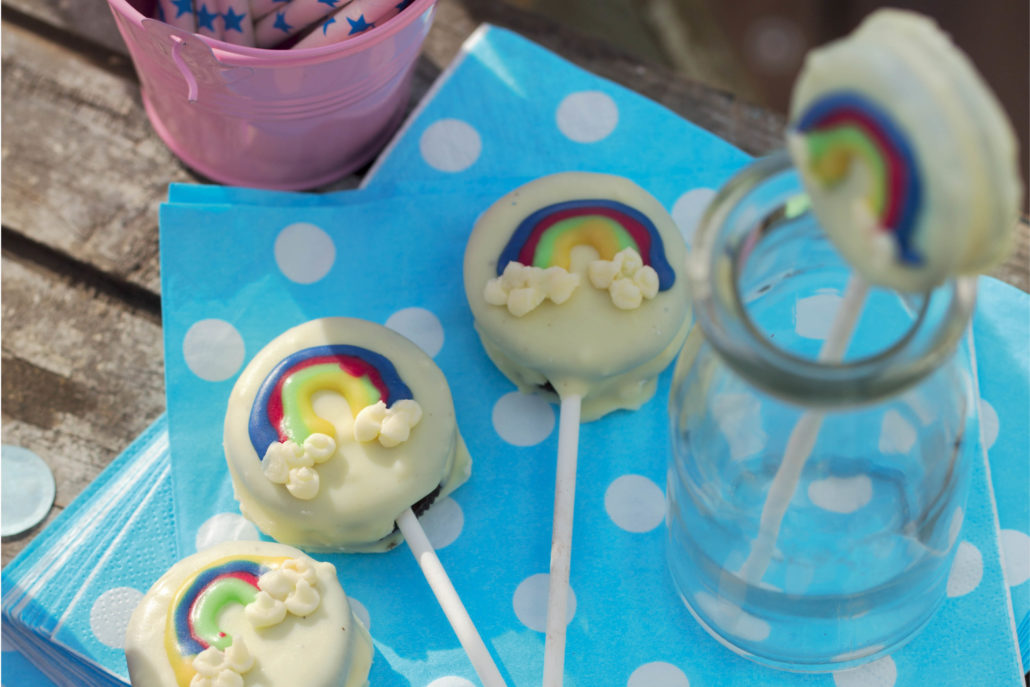
MAKES 16 // HANDS-ON 30 min // HANDS-OFF 20 min
INGREDIENTS
200g icing sugar, sifted
60g butter, room temperature
1-2 tsp milk, hot
¼ tsp vanilla essence
1 pack Oreos (16 cookies)
300g white chocolate, broken up
Food colouring, 4 colours
METHOD
1. Cream 100g sugar, the butter, milk and vanilla. Separate Oreos and add a layer of icing to each.
2. Place the chocolate in a bowl and microwave on medium for 30 seconds at a time, checking and stirring after each session.
3. Dip 1 end of each lolly stick in the melted chocolate and press it into the Oreo icing, with the end of the stick in the middle of the cookie. Reassemble as you go.
4. Dip each pop into remaining melted chocolate, covering all over. Place on a baking tray to set.
5. Mix remaining sugar with a few drops of water until it forms a thick icing. Divide between 4 bowls and add a few drops of food colouring to each bowl.
6. Pour the icing into piping bags and decorate the cookie pops.
Jelly squares
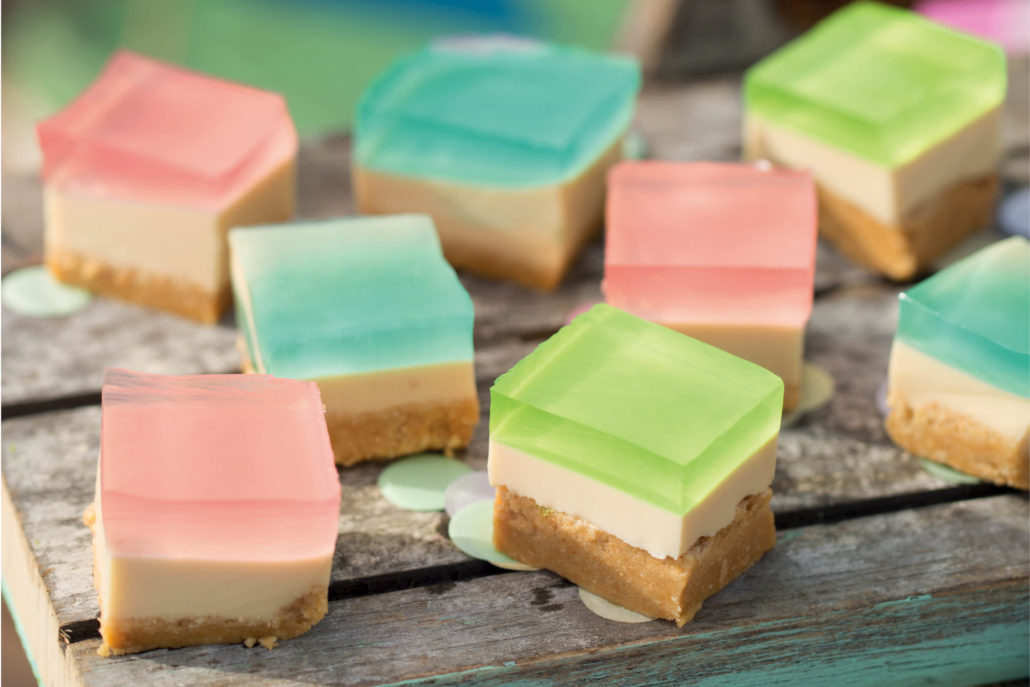
MAKES 18 // HANDS-ON 15 min // HANDS-OFF 1 hour
INGREDIENTS
3 x 80g packets jelly (flavours of your choice)
2 x 80g packets litchi jelly (or any other colourless jelly)
380g tin Ideal milk
200g packet Tennis biscuits
80g butter, melted
METHOD
1. Grease three 10 x 15 cm plastic containers.
2. Prepare the coloured jellies by dissolving each packet in 150 ml boiling water and then adding 150 ml cold water.
3. Prepare the colourless jelly by dissolving both packets in 500 ml boiling water and then adding the Ideal milk.
4. Place biscuits and butter in a food processor and blits until crushed and well combined.
5. Press a layer of biscuit crumble into each plastic container.
6. Divide the colourless mixture between 3 containers. Place in the fridge to set, 30 minutes.
7. Top each colourless jelly layer with a contrasting coloured layer. Return to the fridge to set, about 30 minutes.
8. Once set, turn each jelly out of the container and cut into six 5 x 5 cm squares.
Pretzel butterflies
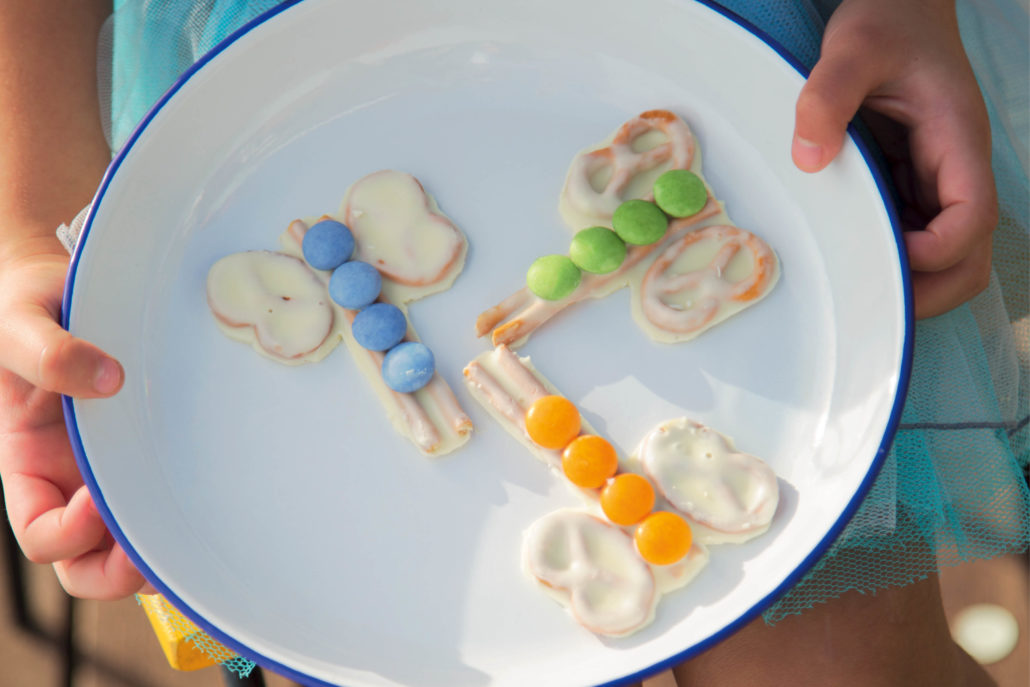
MAKES 12 // HANDS-ON 20 min // HANDS-OFF 20 min
INGREDIENTS
300g white chocolate, broken up
24 stick pretzels
24 round pretzels
150g box Smarties
METHOD
1. Line a tray with waxed paper.
2. Place the chocolate in a bowl and microwave on medium for 30 seconds at a time, checking and stirring after each session. Once melted, pour into a piping bag with a fine, round nozzle.
3. Place 2 stick pretzels next to each other on the baking tray (to make the body). Place a round pretzel on each side (to make the wings).
4. Pipe the chocolate over the pretzels, filling the gaps between them and sticking them together.
5. Decorate with Smarties.
6. Refrigerate until set. Trim any chocolate that has overflowed with a sharp knife dipped in boiling water.
The cake
And for the pièce de résistance, our Rice Krispies cake will go down a real treat! It’s quick and easy to make, your little ones won’t need a plate to enjoy it (plus less cleaning up for you), and it’s a deliciously creative idea that will get everyone talking.